Cardboard Camera Obscura
Template
For Faster/Easier Classroom
Project (No Measuring Needed)
For a faster and easier cardboard camera obscura session in a classroom or group setting, you can prepare several of the following card-stock paper templates ahead of time. Using a pencil, students draw around the perimeter the template, join the marks with a straightedge, and proceed with cutting the cardboard. No measuring is needed.
Preparing the
Template
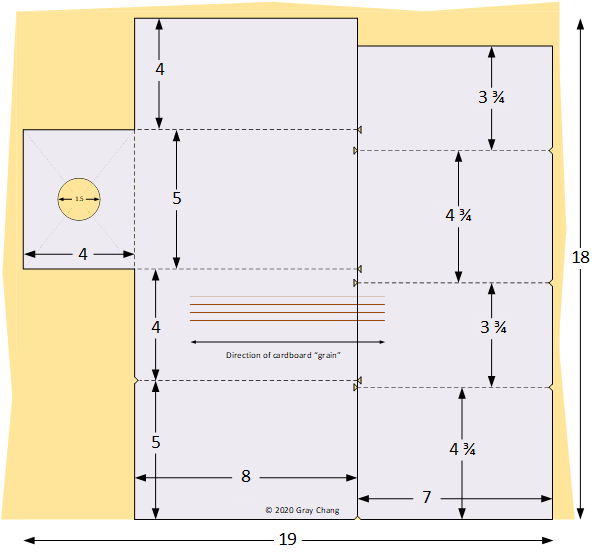
Use the following plan to create the template. If you have a
printer that can print on card stock (stiff paper) 18+ inches
wide, go to the SVG
file and print out the image at full size (100%
scaling). Otherwise, you'll need to measure, mark, and draw
this plan on the card stock. Cut away the tan parts of the plan, leaving just the purple part. Use scissors to cut out the five notches around the perimeter. Use a hobby knife to cut out the six tiny triangles along the vertical line inside the plan, and the hole for the lens.
Make enough templates so that the students don't have to wait too long to have a turn using it, such as one template per four students in the class. The templates can be reused.
Using the Template
Here are instructions for the students.- Place the plan on the cardboard with the horizontal
edges exactly parallel to the "grain" of the cardboard
(the direction of the long pleats inside the cardboard).
The pleat lines are faintly visible on the cardboard.

- Tape the plan to the cardboard to keep it in position.
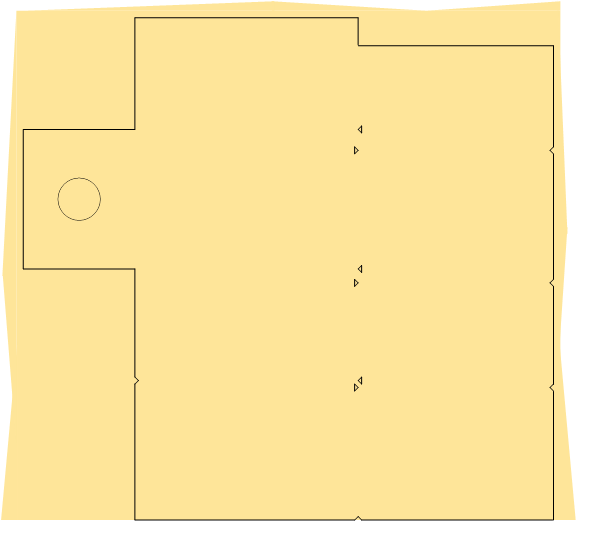
Using a pencil, draw around the perimeter of the plan.
Include the five notches around the perimeter, the six
tiny triangles along the vertical line inside the plan,
and the hole for the lens. Untape and remove the plan.

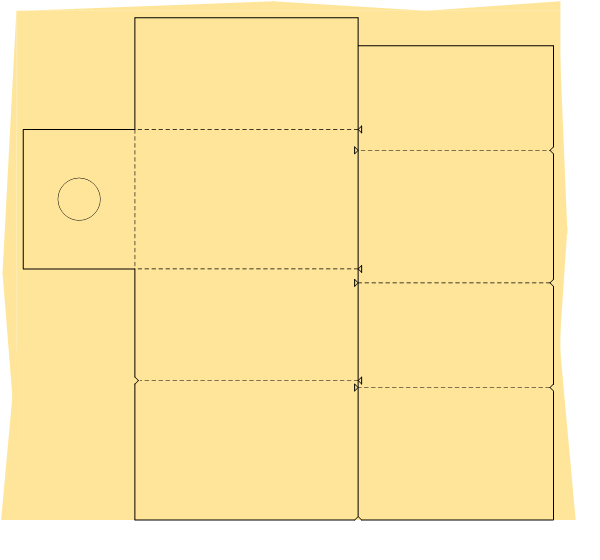
- Draw the solid and dashed lines shown in the following
diagram. The horizontal lines should be exactly parallel
to the pleat lines.

- Proceed with the cutting step of the project.