Editing Photos for Web Publishing Using IrfanViewHow to
Resize/Resample Images to a Lower Resolution for Web Pages
When you create web pages, it's better to create your own artwork and use your own photographs than to copy stuff that you've found on the Web. Your own work is original and unique, and therefore provides more value to the viewer. If you do copy pictures from the Web, get permission first if you can, and cite the source to give credit to the owner. When you use your own digital photographs, you generally need to "resample" or "resize" your pictures to a lower resolution for publishing on the Web. Photo files from your digital camera are probably around 1 megabyte (1000 kilobytes) each, but photos published on the We should be about 50 kilobytes or less, so that they can be downloaded quickly by viewers of your web page. So how do you reduce the resolution of your picture files? You might be able to use the image editing software that came with your camera. Look for a "Resample" or "Resize" command in the Edit menu. You can also use a professional tool such as PhotoShop, although that's "overkill" for this simple task. If you don't already use an image editing tool, you can a free image editing program, IrfanView.
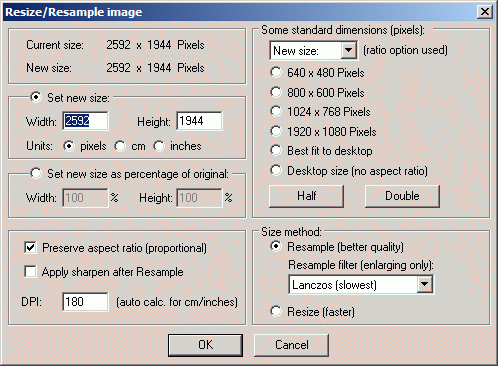
To crop your picture, first drag a rectangle around the part of the image you want to keep, then choose Edit > Crop selection or type Ctrl-Y. To resize the picture for publishing on the Web, choose Image > Resize/Resample or type Ctrl-R. This opens the Resize/Resample dialog box:  Under "Set new size:", enter either the desired Width or the desired Height for the image, depending on how big you want it to appear in your web page. If you want a fairly large image, the longer dimension should be about 800 pixels. If you want just a small thumbnail image to be used as a link, enter about 100 pixels. After you enter the desired Width or Height, click OK. To ensure that the image is now being displayed at "actual size" as it will appear in web pages, choose View > Original Size or type Ctrl-H. To save your resized image, use File > Save As, enter the new name for your resized image, and press the Enter key. Image Size ExamplesThe following examples demonstrate various image sizes. "300 x 400 Image" means 300 pixels wide and 400 pixels high. |
106 x 80 Image  300 x 240 Image |
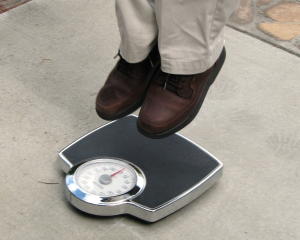
300 x 400 Image |
 800 x 339 Image |
|
| Previous Page: Editing Web Pages | Next Page: Free Web Space |

